
How to Submit an Invoice to Rewire News Group
Thanks for contributing to Rewire News Group! The following information will help guide you in submitting an invoice, which is required in order to receive payment for your work. Make sure that you have also submitted your signed contract and W-9 form, as applicable.
Invoicing System
Rewire News Group uses Expensify to receive, review, approve, and pay consultant invoices. Please note that Expensify is a system created for expense reports and you will see references to “expense reports” when you use the system; however, the basic functionality works to automate our consultant invoicing needs.
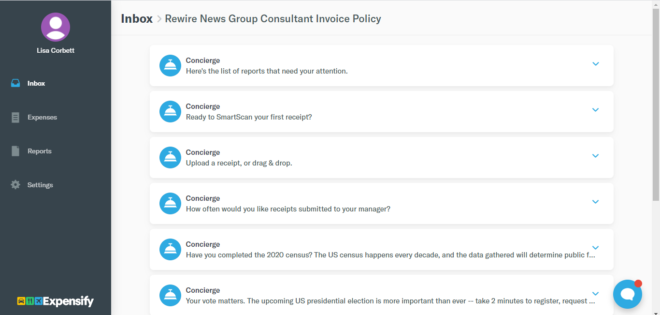
You will receive an email from Expensify inviting you to the system. Click on the link in the email to log in and set up your account. NOTE: Make sure to sign up for Expensify using the same email address that you provided to Rewire News Group. If you sign up using a different email address, we won’t receive your invoices, as they must be submitted from the email address we have for you in the system.
Invoice Deadline and Payment Schedule
Invoices are processed once a month as a batch. The monthly invoice deadline is the 5th of each month for all work received and accepted by Rewire News Group through the end of the previous month (e.g., invoices are due on October 5th for any work accepted through September 30th).
Following the monthly invoice deadline, processing generally takes 1-2 weeks, though timing may vary. This includes review, approval and payment. Payment is made via direct deposit to your bank account, which may take an additional 4-5 business days.
You’ll receive one email from Expensify once your invoice has been approved, and a second once payment has been issued – the latter will contain an estimated date that you can expect to see the deposit in your bank account.
NOTE: Invoices must be submitted within 3 months of the submission date of the work. Any invoices past this will not be honored.
Setting up a Bank Account in Expensify
Follow the steps below to enter your bank account information in Expensify.
- In Expensify, click on Settings in the menu on the left.

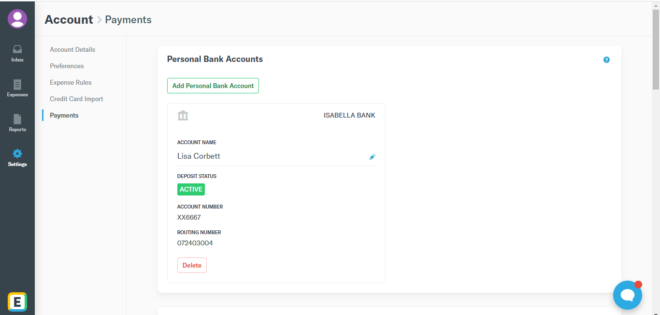
- On the Account screen, click on Payments in the secondary menu on the left.
- Under Personal Bank Accounts, click the Add Personal Bank Account button.
- There are two options for adding a bank account. The default is Log into your bank. Click on this option.

- If you wish to use this option, click Continue and follow the instructions on screen.
NOTE: Rewire News Group is unable to provide technical support for this option, as the process varies by bank.If you would prefer to manually add your bank account details, click the X on the Plaid pop-up instead.

- This prompts the second option, Connect manually. Click on this option.

- Fill in the fields on the Add Personal Bank Account screen, then click the Save & Continue button.

- You should now see your bank account listed on screen.
- You only have to complete this process once, and your information will be stored in the system for any future invoice payments.
Submitting an Invoice
Follow the steps below to create an invoice, ensuring that it is in line with your contract.
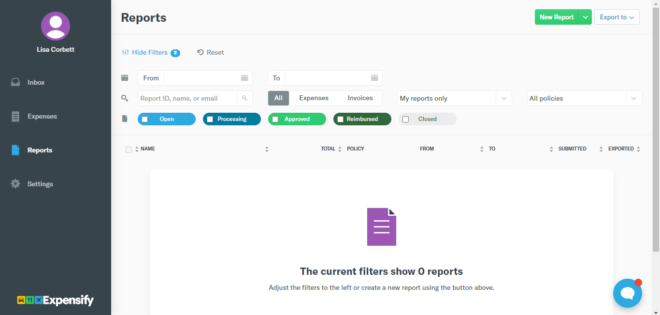
- In Expensify, click on Reports in the menu on the left.
- On the Reports screen, click the New Report button.
- This opens the New Report screen. The “report” is your invoice. The Policy field should default to Rewire News Group Consultant Invoice Policy; if it does not, you can click the arrow in the drop-down menu to select it.

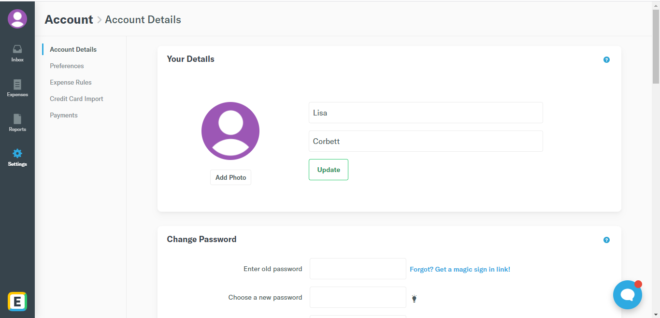
- On the New Report screen, change the title of your invoice from “New Report” to your name and the month your work was submitted in (e.g., Lisa Corbett September 2020). Then click the round green icon with the white plus symbol.

- On the Add Expenses To Report screen, click the New Expense button.

- Fill out the New Expense screen as follows:
Merchant: Enter the title of your article.
Date: Enter the date the article was submitted.
Total: Enter the agreed upon compensation amount.Leave the remaining fields as they default: Reimbursable box checked; Billable box unchecked; Category, Attendees, Classes, and Description fields blank.Click the Save button.

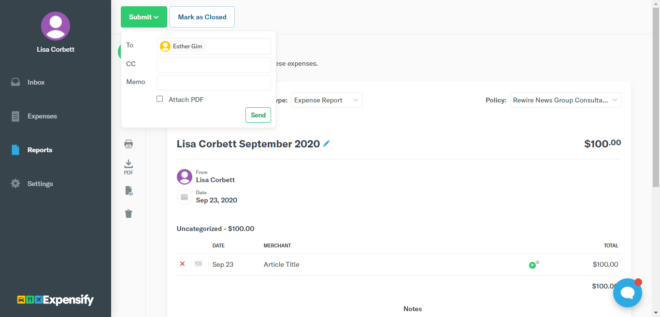
- The New Expense screen closes and you can now view your invoice. If you’ve submitted multiple articles in the same month, you can repeat the previous steps to add them to the same invoice.Once you’ve added all your work to the invoice, click the Submit button.

- In the pop-up that opens, leave the name in the To field as it defaults. Click the Send button.
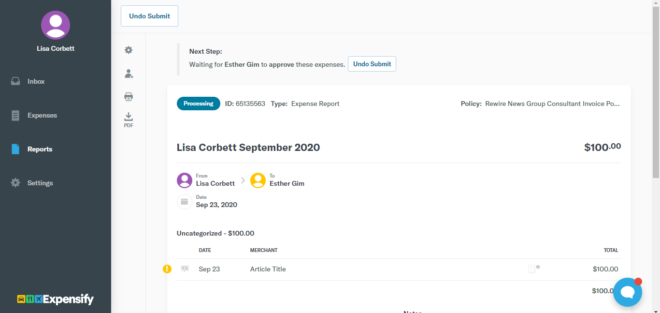
- You can confirm that your invoice has been properly submitted by verifying that the blue oval shows the status as Processing and that the Policy field shows Rewire News Group Consultant Invoice Policy.
This completes the process of submitting an invoice to Rewire News Group.